@ar-project/host-object-model
介紹 @ar-project/host-object-model 前,建議先了解 Venom 的概念。
什麼是 Venom ?
Venom 可以擴充任何應用程式,無論擁有者是否提供 source code 或 extension/plugin 等擴充方式。
- Venom 可以在應用程式的畫面上顯示資訊
- Venom 可以操作應用程式
- Venom 可以取得應用程式的資訊
從 這裡 查看更詳細的內容。
各種應用在 APP 的 Venom 擴充軟體
目前已擁有數款用於熱門應用程式的擴充軟體。
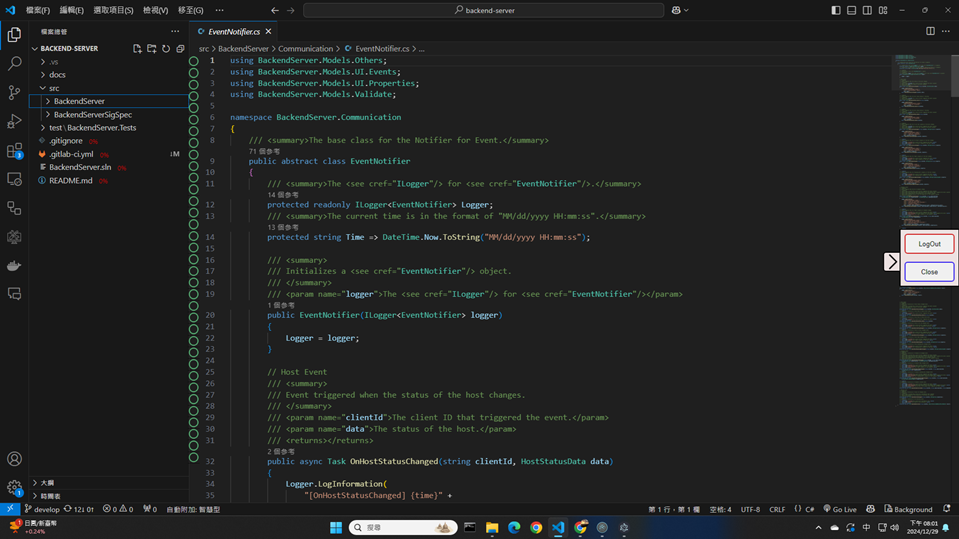
Geekynote VSCode Venom
Geekynote VSCode Venom 擴展 Visual Studio Code,讓使用者可以在 Visual Studio Code 上及時查看程式碼的文件。
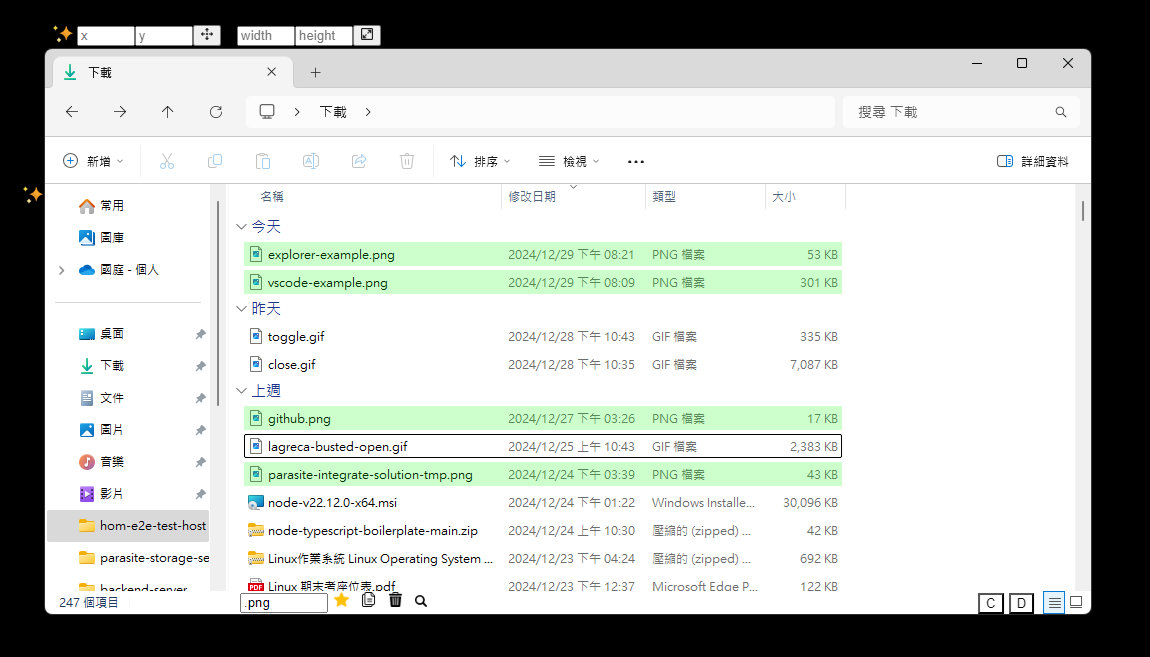
File Explore Venom
File Explore Venom 擴展了檔案總管,讓使用者可以即時透過關鍵字找到檔案名稱,另外也提供許多方便的快捷功能。
Host Object Model 介紹
Host Object Model 是 Venom 的一個分支,用於在 Node.js 上開發 Venom,通常會與 模板 一起使用。
Getting Start
接下來我們會開發一個記事本的 Venom 擴充軟體,帶領你熟悉 Venom 的開發流程。
這個範例會實作簡單的常用文字模板功能,會在記事本上增加按鈕,當使用者點選按鈕,會在文章後添加固定的常用字串,這樣使用者就不需要另外複製。
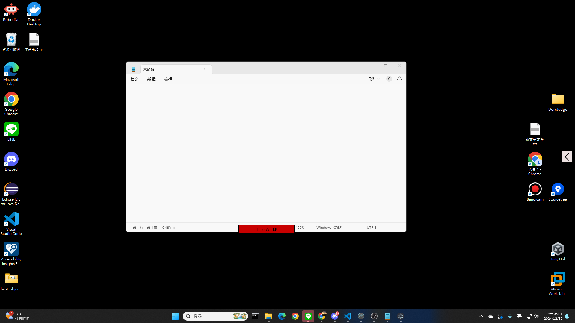
結果預覽

一、下載一個 Venom 模板
接下來我們開始開發 Venom,首先我們以 Electron-Venom 模板作為範例,裡面即用到名為 @ar-project/host-object-model 的 Node.js Package。
下載完成後,請參考網站的 Build 章節進行建置。
可選擇下載壓縮檔或透過 git clone 指令下載。
或是參考 更多
二、取得描述檔
開發者希望在應用程式上操作特定元素,以這個範例來說,我們需要操作記事本上的文字編輯器,才能讓字串加到文本中。
為了讓 Venom 得知我們想操作什麼元素,需要一個 Descriptor(描述檔) 來表示一個元素,而如何描述元素是一個難題,因此我們需要使用 Descriptor 的生成工具: UI Descriptor Extractor (安裝 )。
UI Descriptor Extractor 可讓用戶選擇畫面元素,然後生成 Json 檔案類型的描述檔。
我們可以參考 教學文章 生成描述檔。在這個範例中,請嘗試抓取兩個描述檔,之後的教學會用到它們:
記事本的 Host Descriptor:用於定位 Venom 操作的視窗(即記事本)
文字編輯器的 Element Descriptor:用於操作文字編輯器
最後將描述檔分別取名為 notepad、textarea,接下來進入開發的階段。
三、透過描述檔開發 Venom
有描述檔後即可開發 Venom,讓我們把生成的描述檔匯入到 Electron-Venom 模板。
在 descriptor 資料夾內創建一個名為 nodepad 的子資料夾。然後將描述檔放到nodepad 資料夾中。
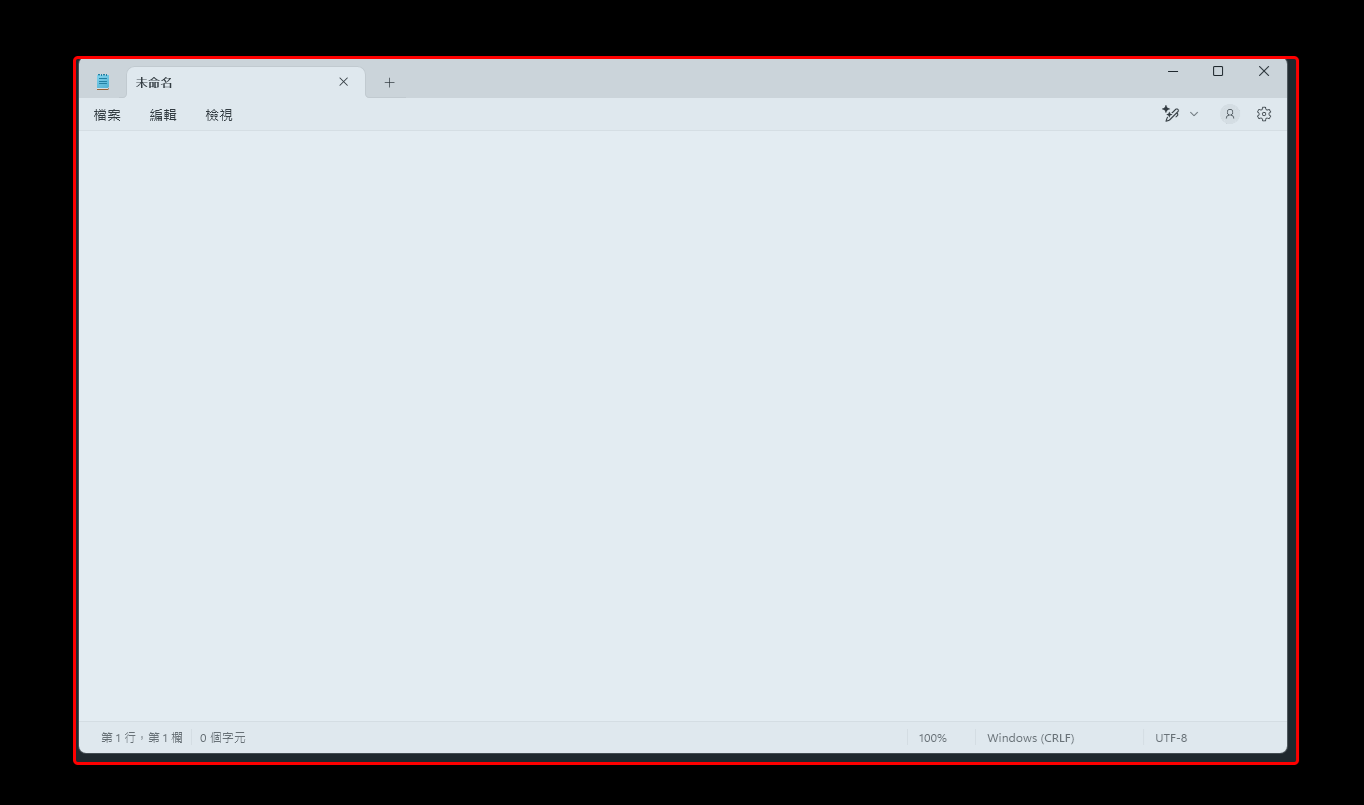
建立一個按鈕
接下來我們需要一個輸入常用字串的按鈕,且位置在記事本的視窗正下方。
- 讓我們修改
.src/rendererProcess/renderer.ts程式碼,撰寫一個創建按鈕的函數:
// 在範圍的正下方創建一個按鈕
function createButtonInBottomCenter(bounding: BoundingBox): HTMLButtonElement {
// 創建按鈕並設定樣式
let button = document.createElement('button')
button.style.position = 'absolute'
button.style.backgroundColor = 'rgb(200, 0, 0)'
button.innerText = 'Hello World!'
// 將按鈕設定在記事本畫面的底部中央
setButtonToBottomCenter(button, bounding)
// 重要!
// 需呼叫 setButton() 函數設定按鈕,讓按鈕可以正常被使用
// 關於這個設定的詳細說明,請參考 https://venom/unknown
setButton(button)
// 把按鈕加到記事本畫面上
document.body.appendChild(button)
return button
}
- 接下來實作上面用到的 setButtonToBottomCenter() 函數:
// 將一個按鈕調整到範圍的正下方
function setButtonToBottomCenter(button: HTMLButtonElement, bounding: BoundingBox): void {
// 設定按鈕的寬度為記事本畫面的 1/5
let width = bounding.width / 5
let height = 30
// 設定按鈕的位置在記事本畫面的底部中央
let x = bounding.x + (bounding.width - width) / 2
let y = bounding.y + bounding.height - height
// 設定按鈕的樣式
button.style.left = x + 'px'
button.style.top = y + 'px'
button.style.width = width + 'px'
button.style.height = height + 'px'
}
關於函數的 BoundingBox 參數,我們需要從記事本的視窗資訊中取得,所以讓我們在 .src/rendererProcess/renderer.ts 上找到 start 區塊,然後在裡面創建 host 變數。
- host 變數儲存了關於應用程式的所有資訊,包括畫面的長寬和所在的螢幕座標,我們需要這些來定位按鈕。
- 透過 Descriptor 取得 host 變數。
以下是創建 host 變數的範例:
const hostDescriptor = require('../../descriptor/notepad/host.json') as DescriptorDTO
window['api'].ipc.Receive('start', async () => {
if (myVenom == null) {
myVenom = await Venom.create(url, hwnd, hostDescriptor)
}
// get a subscribed host, only one host can be subscribed
let host = myVenom.getSubscribedHost()
console.log('renderer start ipc finished.');
})
有 host 變數就可以創建按鈕,讓我們把 host.boundingBox 代入函數:
// 在畫面正下方創建一個按鈕
let button = createButtonInBottomCenter(host.boundingBox)
我們可以運行專案查看效果。
(參考 文章 的專案運行步驟)
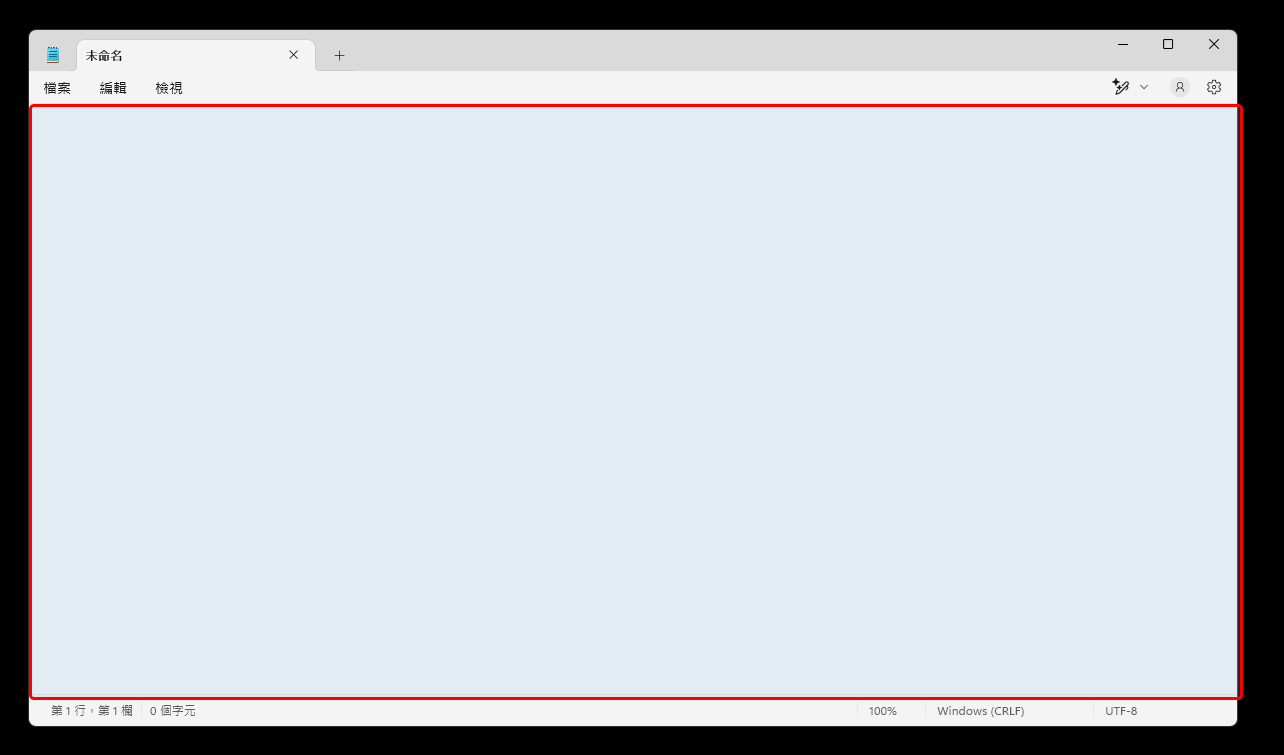
讓按鈕跟隨視窗畫面
雖然已經把功能按鈕附加在應用程式上,但會出現一些問題:
- 當使用者移動視窗,按鈕不會跟著移動
- 當使用者將視窗最小化或關閉,按鈕不會跟著消失
為了應對這種情況, @ar-project/host-object-model 庫的 Event 功能可以解決這個問題。
(為了節省篇幅,我們只專注解決第一個問題)
可以使用 host.onBoundingBoxChanged() 事件,在 host 的 BoundingBox 改變時接收事件,便可更新按鈕位置。
host.onBoundingBoxChanged(async (host) => {
// 將一個按鈕調整到範圍的正下方
setButtonToBottomCenter(button, host.boundingBox)
})
接著查看效果,按鈕應跟隨視窗移動。
實作按鈕功能
接下來需要實作按鈕功能,讓使用者點選按鈕時,在文章後面增加字串。
可以透過 @ar-project/host-object-model 庫的 updateCurrentValue()、setValue() 實現,具體步驟如下:
- 取得文字編輯器的元素
- 取得元素內的文本
- 修改文本內容
讓我們先實作第一項,我們可以透過 @ar-project/host-object-model 庫的 host.getElementsByDescriptor() 取得元素:
// 透過文字編輯器的 Descriptor 取得該元素
// 注意:描述檔可能匹配多個元素,範例中我們預設不出現多個匹配,直接使用第一個元素
let textareaComponent = (await host.getElementsByDescriptor(textareaDescriptor)).item(0)
接下來可以使用 updateCurrentValue()、setValue() 函數操作文本。
// 設定按鈕的 onclick 事件
button.onclick = async () => {
// 先確認元素是否能進行文本操作
if (await textarea.updateCurrentHasValue()) {
// 如果可以,則先取得當前的文本內容
const text = (await textarea.updateCurrentValue()).data
// 接著進行修改文本的操作,在文章後面加上 "Hello, World!" 字串
await textarea.setValue(text + 'Hello, World!')
}
}
大功告成!享受你的 Venom 擴充!